Who else wants flawless masonry? Read these 10 essential tuckpointing tips now!
Do you enjoy tackling projects around your home, such as tuckpointing? Look nowhere else! With these DIY tuckpointing tips, your project will be guaranteed success!
While DIY tuckpointing can be fun and satisfying, it sure is a challenging process. As experienced tuckpointing professionals, we want to provide you with the information and self-assurance necessary to revive your brickwork like a pro.
So let’s get started with these crucial pointers and turn your residential tuckpointing projects into rewarding successes!
10 Tips for Successful DIY Tuckpointing
Assess the Condition of Your Mortar
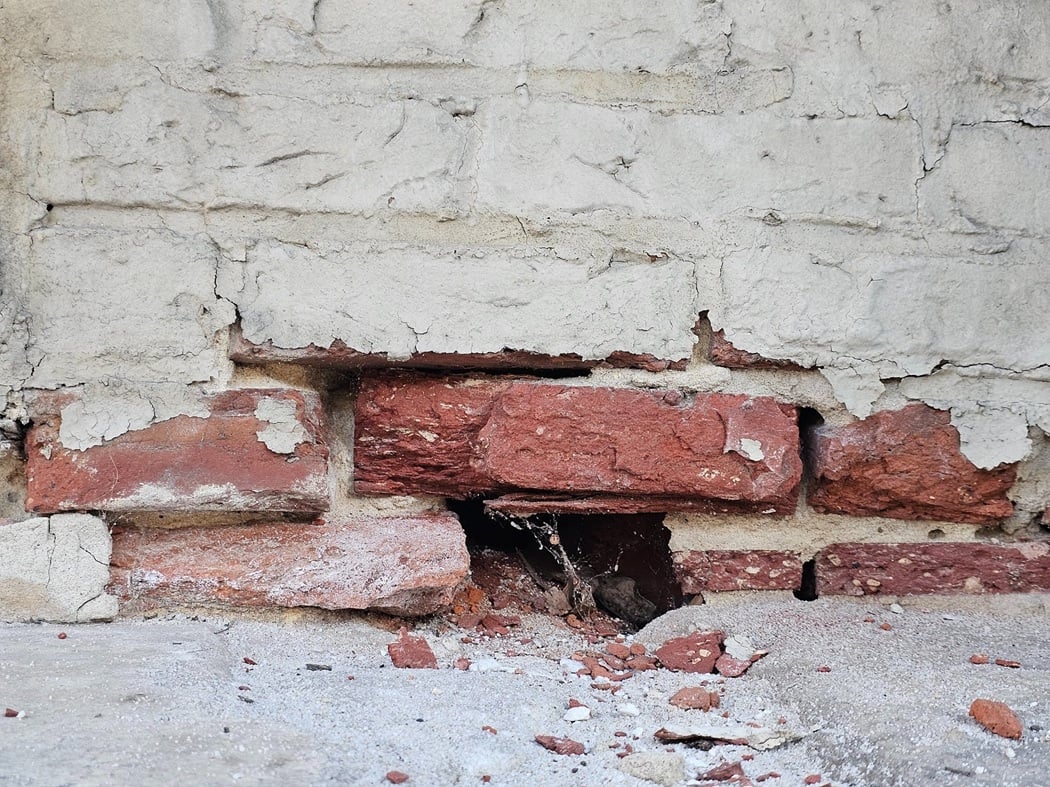
- Examine the state of the existing mortar in depth before beginning any tuckpointing projects. Look out for degradation indicators like fractures, cracking, or gaps.
It’s crucial to pinpoint problem locations and gauge the degree of mortar removal required. You can prepare your tuckpointing strategy in accordance with your precise assessment of the condition.
Safety First
- Any DIY project should always start and end with safety in mind. Don’t forget to wear protective equipment like safety glasses, gloves, and a dust mask when tuckpointing to shield yourself from debris and hazardous dust particles.
Additionally, ensure a sturdy ladder or scaffolding at hand to access the high regions safely. These essential safety precautions can significantly reduce the danger of mishaps and injuries during the process.
Gather the Necessary Equipment and Supplies
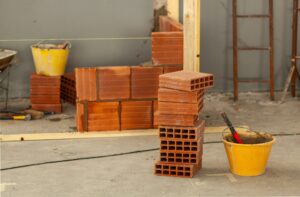
- You will require specific equipment and supplies to complete a tuckpointing project successfully.
A brick chisel, pointing trowel, mortar jointer, mortar hawk, wire brush, and masonry brush are just a few necessary pieces of equipment for tuckpointing that you’re going to need.
- Using mortar that matches your existing brickwork’s kind and color is also essential. Your tuckpointing procedure will go more smoothly and effectively if you gather all the required equipment and supplies before starting.
Set up the Work Area
For a successful tuckpointing project, the workspace must be well prepared. Start by sanitizing the area, getting rid of any loose debris, and giving the brickwork a good brushing. This procedure guarantees a spotless surface for improved mortar adherence.
- In addition, before using the new mortar, wet the bricks with water. This stops the bricks from collecting too much moisture from the new mortar, which can result in weak bonding.
Mix Mortar Properly
For a tuckpointing project to be effective, the mortar must be mixed to the proper consistency. Adhere to the manufacturer’s instructions to achieve the ideal consistency when mixing the mortar. Typically, the mortar should have a texture similar to peanut butter.
- Don’t add excess water since it will only weaken the mortar and reduce its durability. Check the mortar’s consistency frequently to make sure it is workable but not unduly moist.
Master Mortar Removal
It’s crucial to find a balance between removing just enough old mortar to make a clean junction and protecting the nearby bricks when doing so.
- Work in portions and carefully chip away the old mortar using a brick chisel and a hammer. Be careful not to damage the actual bricks. The depth of mortar removal should be around ⅜ inch, so there will be sufficient room for the fresh mortar.
Apply Mortar with Precision
Use a pointed trowel to press the fresh mortar firmly into the joints after applying it. Ensure the mortar fills the joint completely, leaving no spaces or air pockets. Avoid overfilling to prevent unattractive stains from being left on the bricks by extra mortar.
- To increase water drainage and aesthetics, use a mortar jointer to cut the mortar joints with a concave shape. For a neat finish, use a brush to smooth the mortar joints.
Cure the Mortar Properly
The mortar must be thoroughly cured for your tuckpointing job to be durable and strong. For the first several days, moisten the freshly placed mortar by sprinkling it with water. This avoids quick drying, which can cause fractures and shrinking.
- Additionally, don’t forget about the impact of weather on tuckpointing. A new mortar’s integrity might be compromised by harsh weather, so try to shield it from heavy rains or extreme temperatures throughout the drying period.
Get Rid of Extra Mortar Right Away
It’s typical to have extra mortar on the brick surfaces during tuckpointing. Clean up any spills or streaks right away to prevent the mortar from setting. Wipe the extra mortar carefully using a damp cloth or sponge.
- Avoid using too much pressure since it can damage the freshly poured mortar. By removing the excess mortar, you can ensure the outcome is neat and professional!
Routine Inspection and Maintenance
 Regular upkeep and inspection after finishing your tuckpointing project are essential for long-term success. Regularly inspect the mortar joints for any symptoms of deterioration or damage.
- If you spot any problems, call a professional to sort them out immediately to protect the bricks from additional harm. To maintain the brickwork’s beauty and avoid moisture buildup, keep it clean and clear of debris as well.
Residential tuckpointing can be a rewarding and transformative endeavor. With the appropriate skills, methods, and attention to detail, you can revitalize and extend the life of your brickwork.
Just remember to pay attention to the tips outlined in this article, and you will be ready to take on your residential tuckpointing projects like an expert!
But if you find the job a bit trickier than you can handle, don’t hesitate to call the professionals at Dupont Tuckpointing. Our specialists are well-versed in the art of tuckpointing, with the expertise to undertake any project regardless of its complexity.
So, feel free to ring us at (202) 296-7644 or fill out your details in this form to arrange a free consultation with us!