Understanding the Impact of Sloppy Repointing on Ashlar Granite Stone: A Case Study Part II
This past week, we started looking at several walls that were built with granite stone, some of the walls were actually built with a basalt which is similar to granite but slightly different. There are examples of decent looking mortar joints, but there’s also examples that we showed of early bad looking mortar joints, so bad that they almost detract from the overall aesthetic of a beautiful facade.
Choosing the Right Mortar
Historic repointing requires relatively close matching of the new mortar to the original in terms of composition structural characteristics. In most cases, this means using a lime-based mortar, as lime mortars are more compatible with older masonry, particular brickwork, and allow for flexibility, permeability / breathability. Using the wrong type of mortars, such as harder exclusively Portland cement-based binder mortars, which are harder and less breathable, can damage some types of stone over time by trapping moisture.
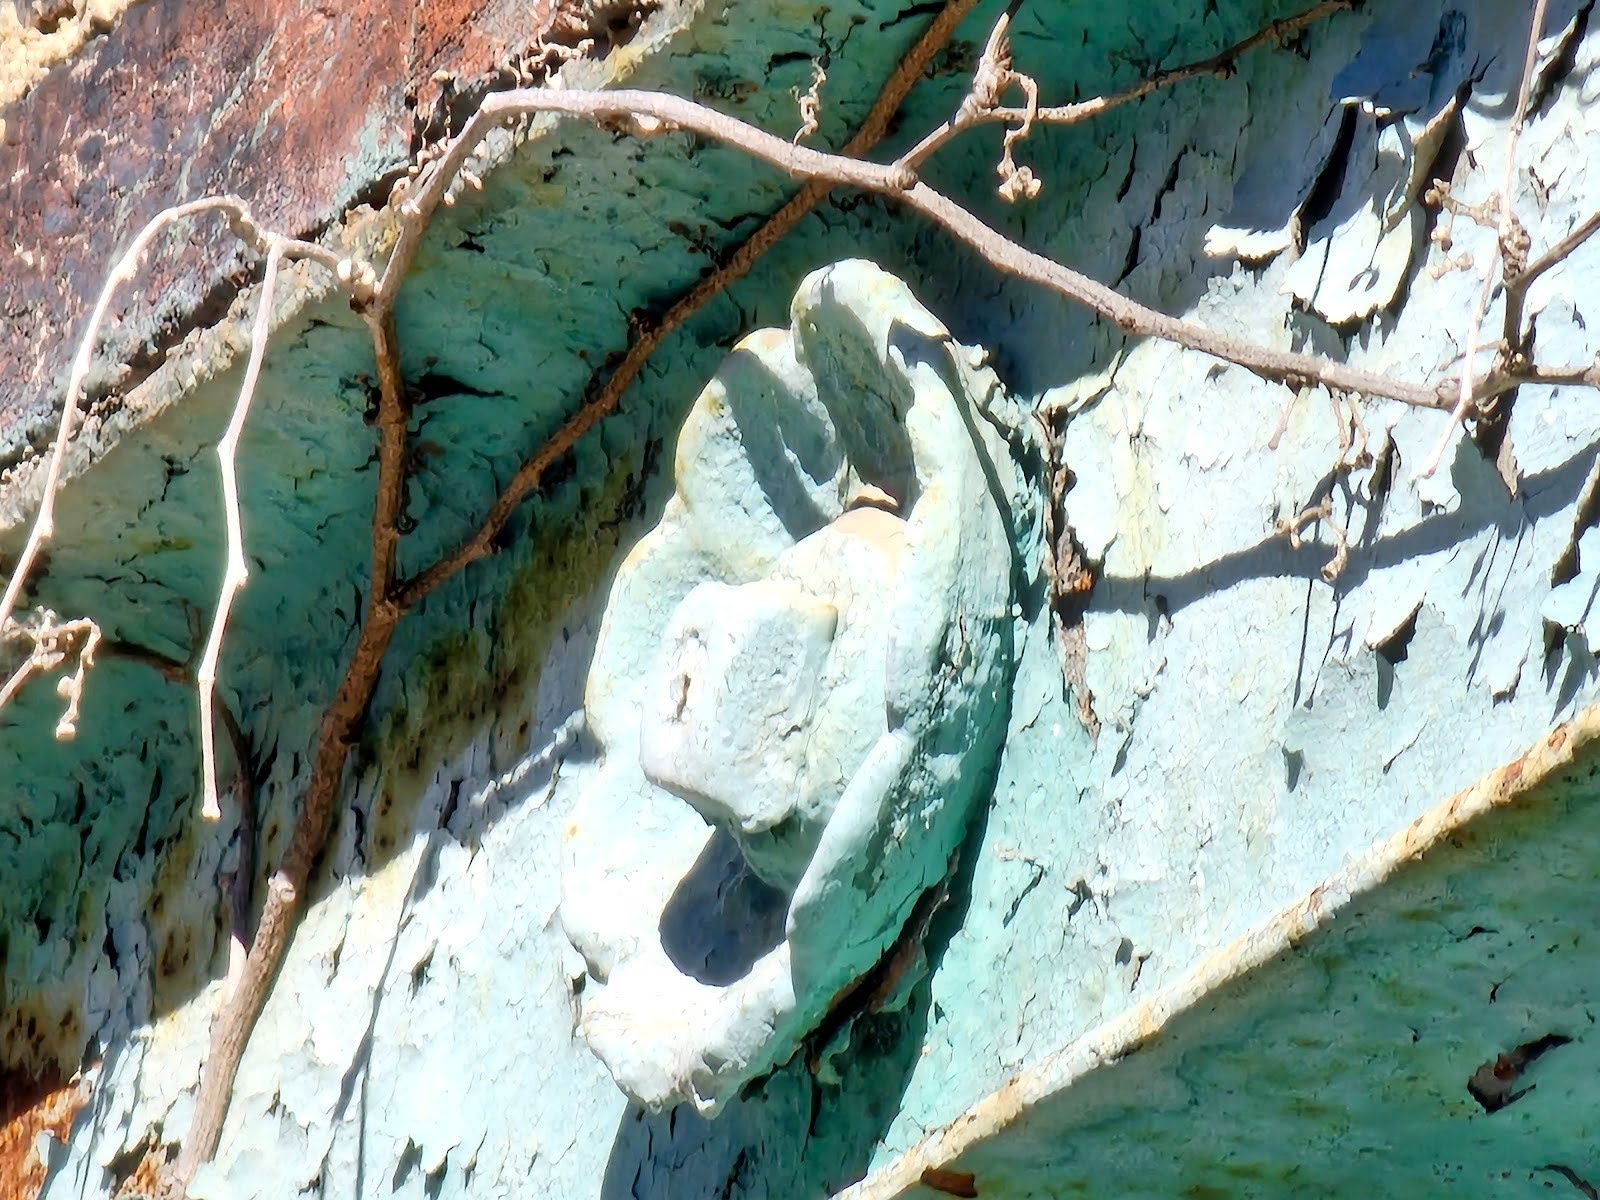
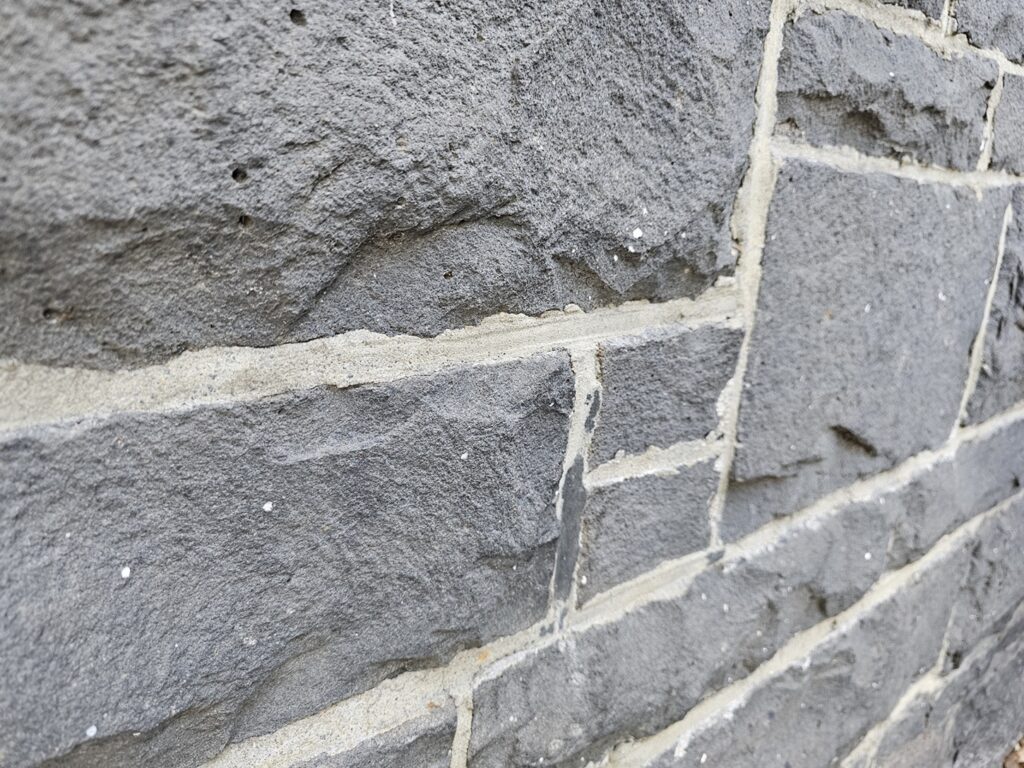
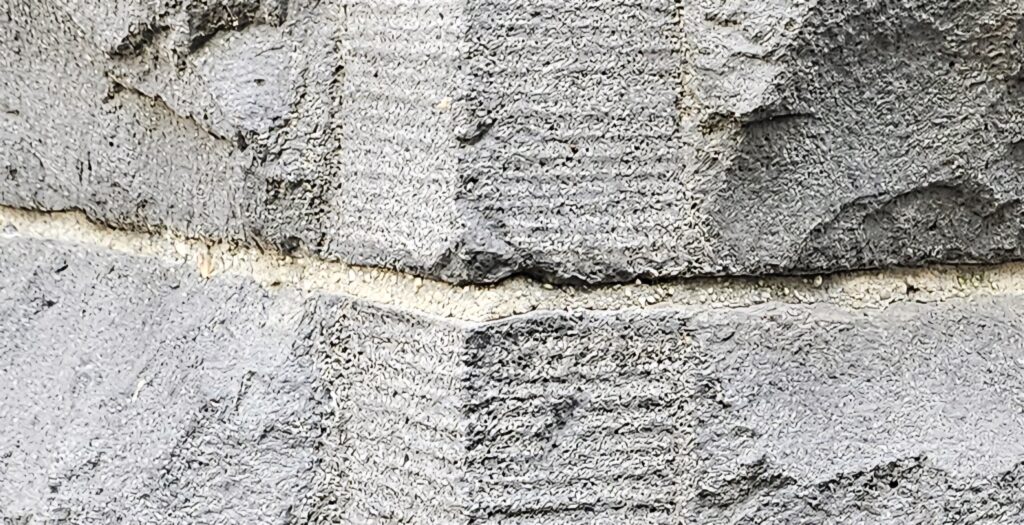
The picture below shows some of the sloppily applied mortar joints. It’s surprising to most people because it looks like the wall was just built sloppily, but it actually was built with relatively tight mortar joints, the people who did the reporting though just smeared mortar on the face of the masonry outside of the area of the actual mortar joint because they didn’t know how to do repointing properly.
When doing historic repointing in brick facades, using overly hard mortars can have devastating consequences to the brickwork. Lime mortar also tends to bond better with softer stone and historic bricks. In some cases harder mortar can erode some of the stone surfaces.
Here on our blog, on our website, we’ve looked at several examples where Portland and overly excessively hard mortars have caused spalling at the face of historic brickwork when repointing was done incorrectly. Proper repointing is important because using the wrong type of mortar can really damage the face of both stonework and brickwork. The bigger problem is that when pointing is done improperly, it’s generally done to a large area of a wall, not just an isolated spot. We aren’t saying that it’s okay to use the wrong mortar in an isolated or limited area, but when an entire building is repointed incorrectly the problem can be seriously devastating.
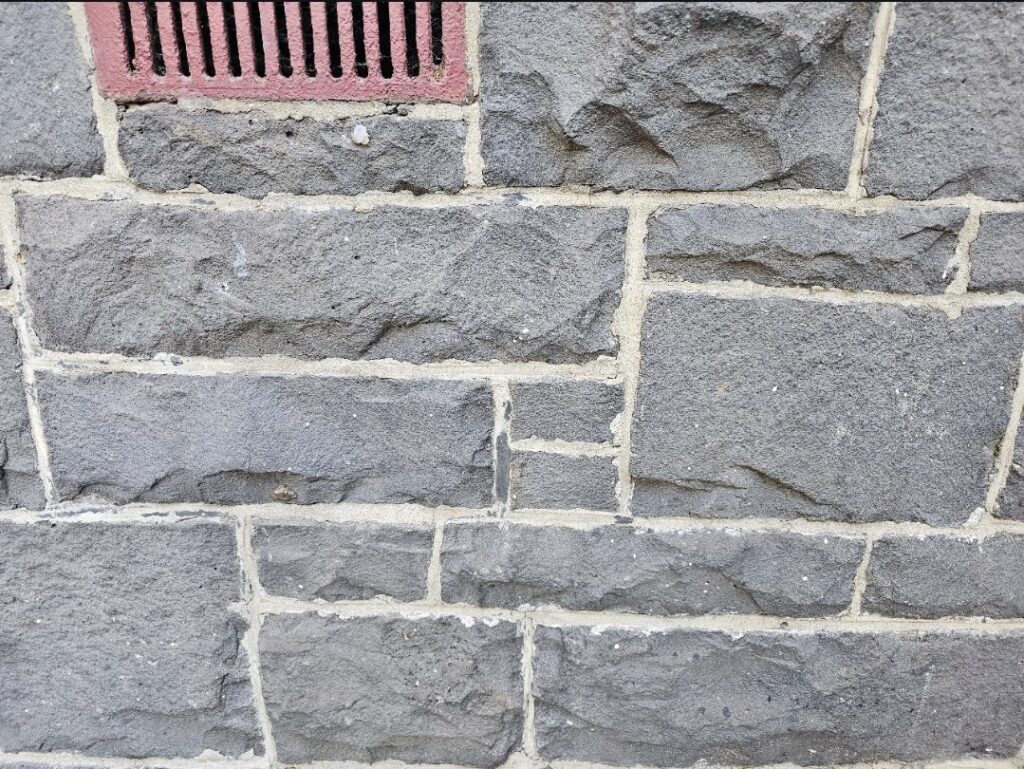
Another picture of these sloppy mortar joints follows below. When you’re up close like this it looks pretty bad
Mortar Application Technique
Proper mortar application isn’t actually difficult once properly trained. For split face stone masonry, it’s important that the mortar is applied with care from the beginning, avoiding excess on the stone surface. It can be cleaned, to an extent, even while the mortar is being applied, but once the mortar fully cures it’s very difficult to remove excess mortar without damaging the masonry facade. This concept applies both to brick and to stone.
The mortar needs to be packed tightly into the joint, allowing it to adhere well and fill the joint to the appropriate depth. We use particularly thin repointing tools, such as pointing trowels, that allow for application into the mortar joints.
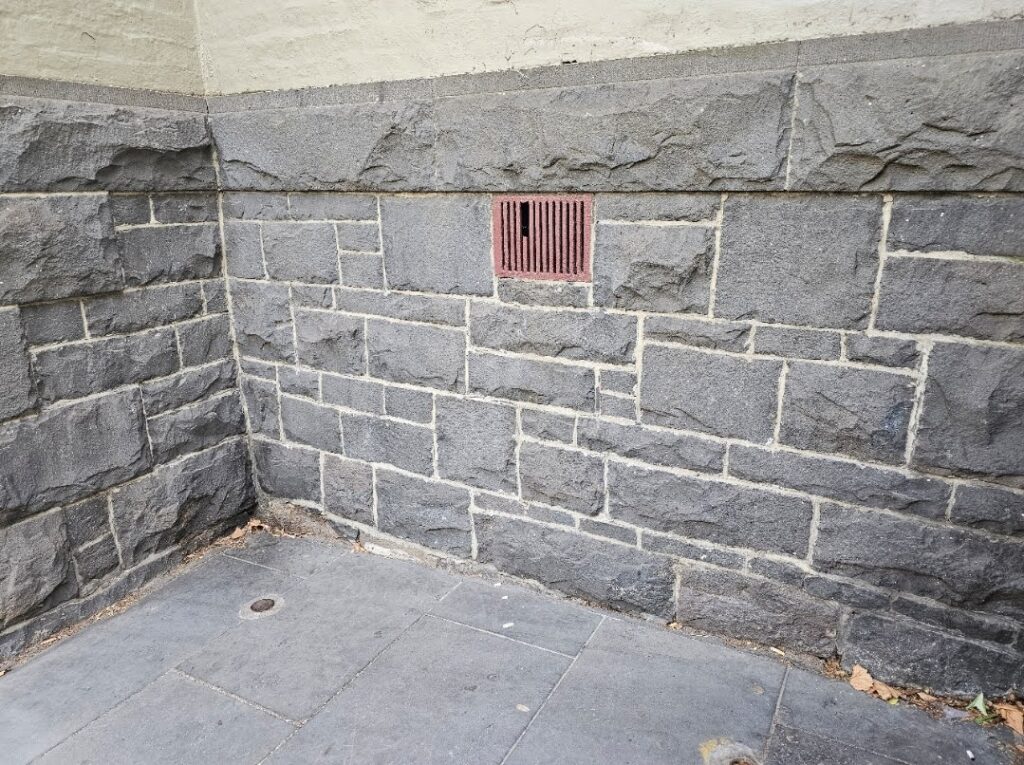
Standing for their back, it doesn’t look quite as bad, but it does affect the overall feel of the wall, it looks like something more rustic and sloppy.
Finishing and Curing
After the mortar has been applied, the joints should be finished to match the profile of the original work. There are various tools available that can be applied to the outer face of the mortar joint to create joints to the correct finish, whether flush, recessed, or slightly rounded, depending on the historic style of the building.
Depending on the exact time period of the building, most of them historic buildings in Washington DC, built with brick masonry, were originally finished with a flush joint. The finish should be relatively neat and precise, without mortar spilling over onto the face of the stones. When it’s bad, it’s generally extremely bad. There are imperfections and deviations in the face of historic bricks that will affect the shape and perfectness of the motor joint, but generally it’s not that difficult to apply relatively professional looking joints without smearing it all over the wall.
Once the joints are finished, it’s important to allow the mortar to cure properly. This may involve protecting the work from direct sun, rain, or freezing temperatures, which could cause the mortar to cure too quickly or unevenly, leading to problems and failures. Covering the repointed areas with damp burlap or tarps can help regulate the curing process and prevent rapid drying when it is excessively extremely hot weather.
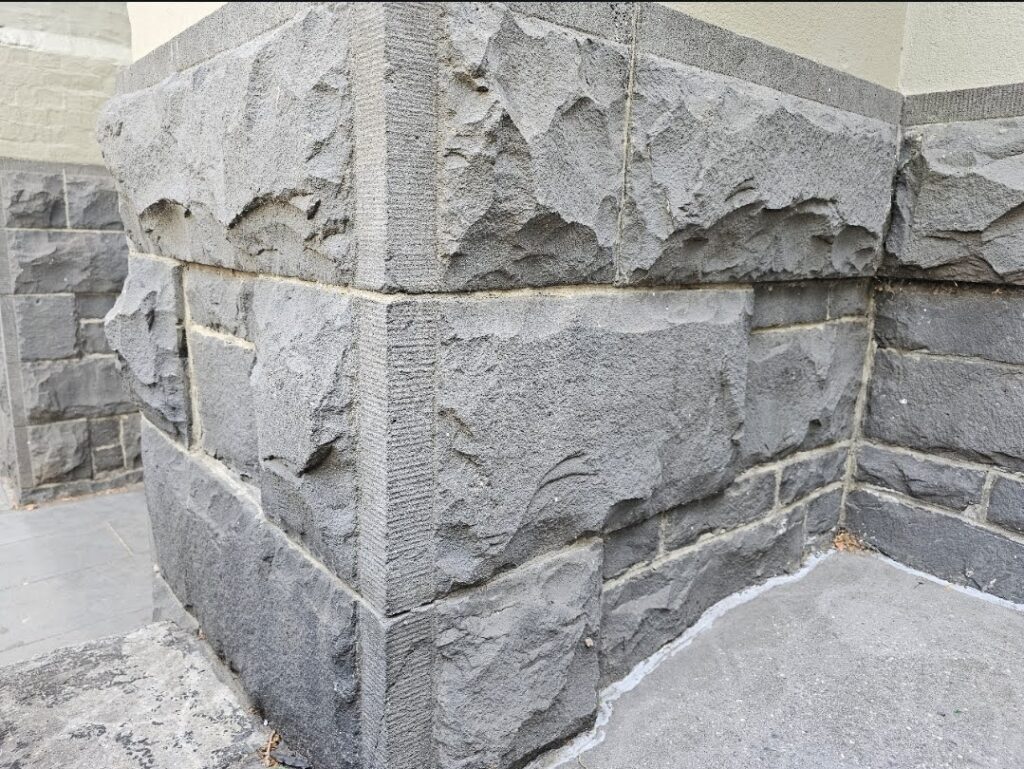
Although this wall was built with a split-faced stone, it was done with relatively fine masonry craftsmanship. The outer edge at the outside corner is cut with a pitching chisel which gives a nicely dressed effect.
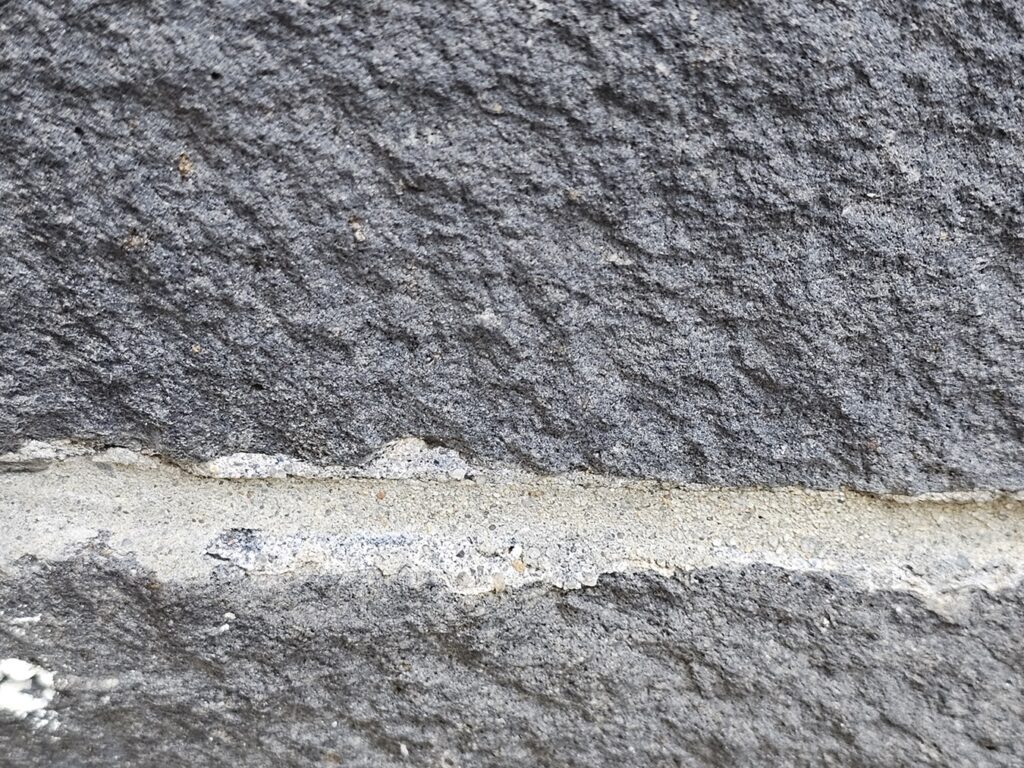
The next picture shows an example of a reported mortar joint that looks okay, it doesn’t have excessive smeared mortar all over the area outside of the joint itself.
But unfortunately most of the wall was not repointed with decent technique, most of it was reported very poorly like the example shown below.
If you are looking for a masonry restoration contractor that takes historic preservation seriously, and simply cares about doing things right, reach out to us. Our company can help.
You can reach us by telephone at (202) 796-7644 and you can reach us by email from the contact form on our website at https://duponttuckpointingmasonrydc.com/contact-us/.