Identifying Common Mistakes in Ashlar Granite Stone Repointing
Today we’re starting a two-part series looking at a case study, examples from the field of stone masonry repointing. These different cases, at three different masonry stone building facade areas, look at conditions of proper repointing and improper repointing. Some of the improper pointing is dramatically sloppy, to the point that it’s simply ugly and looks terrible. These details are subtle though, and a masonry specialist might notice them right away while the average Joe might never even look closely. We understand, some people don’t pay much attention and don’t even know the difference between historic masonry and modern masonry, but to people who are knowledgeable about architecture and engineering, the difference can be jarring.
In almost all cases, of the three buildings that we are looking at over the next two weeks, the stone is a split face ashlar granite (or basalt) rock. This commonality, between these three building facade areas, provides a relatively consistent baseline for comparison. Nonetheless, there are some differences which we will point out.
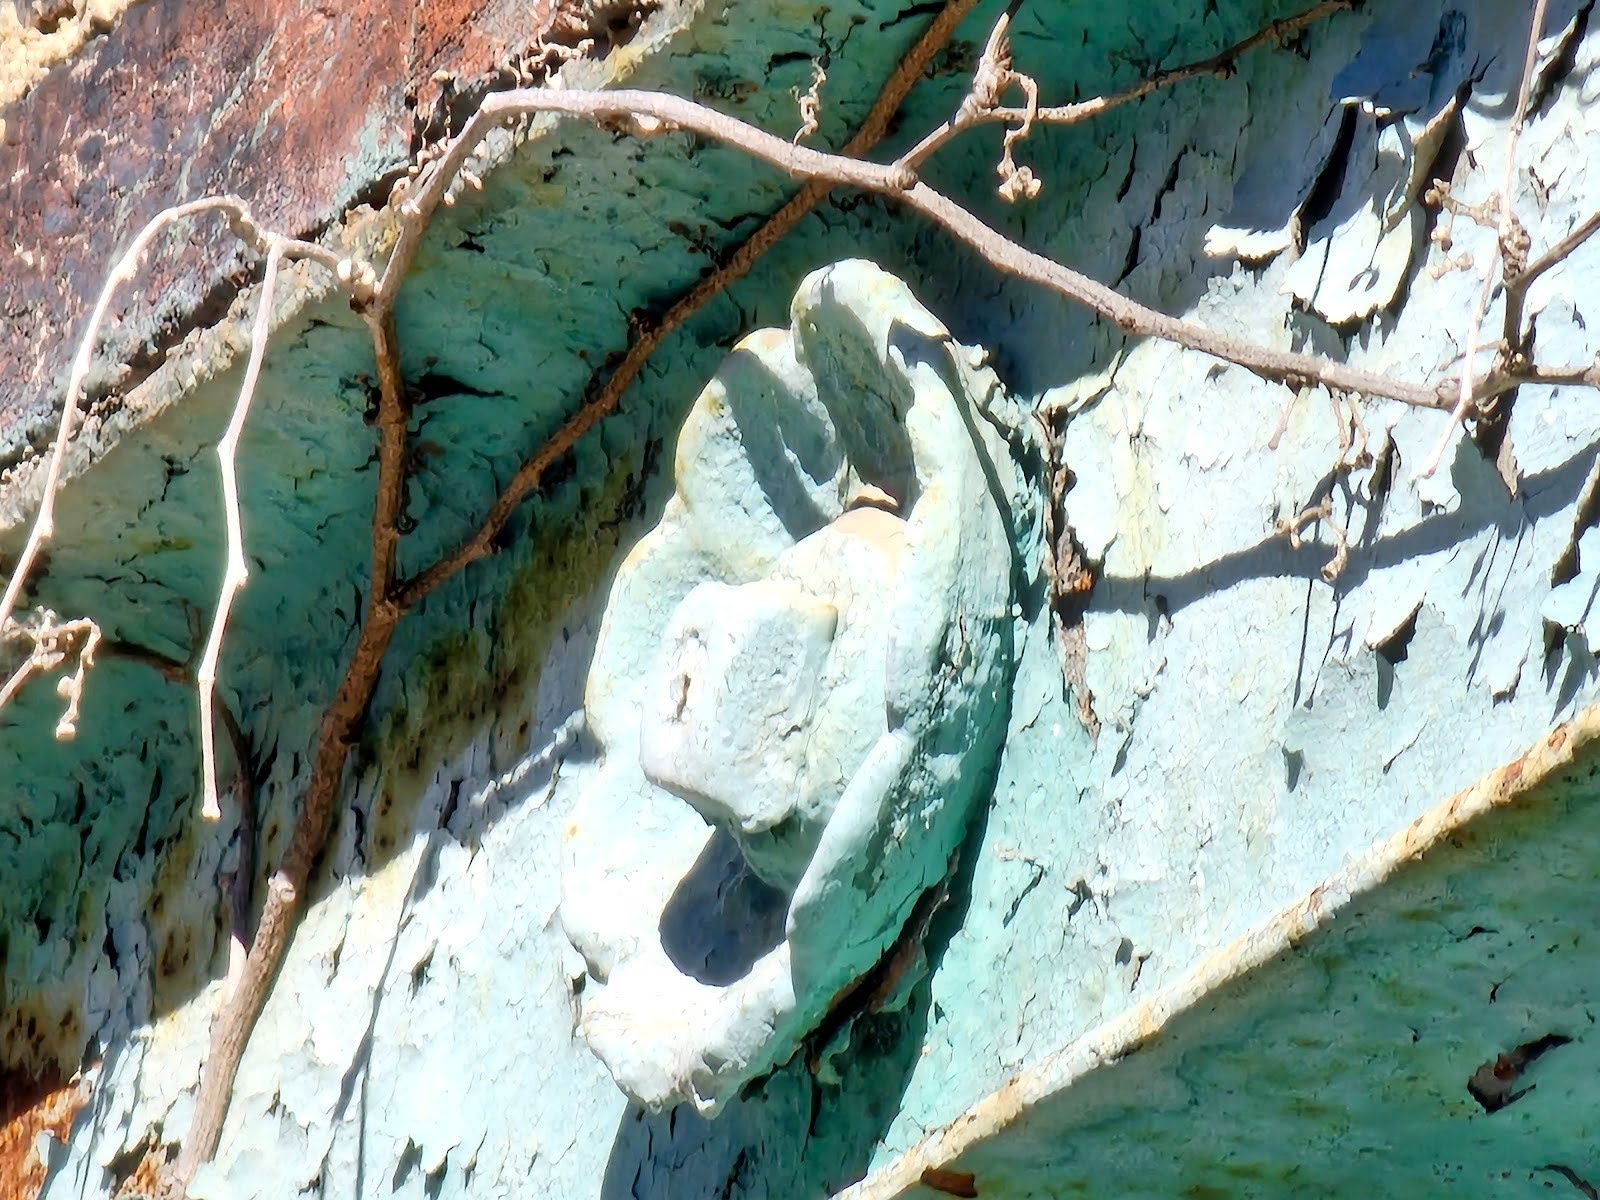
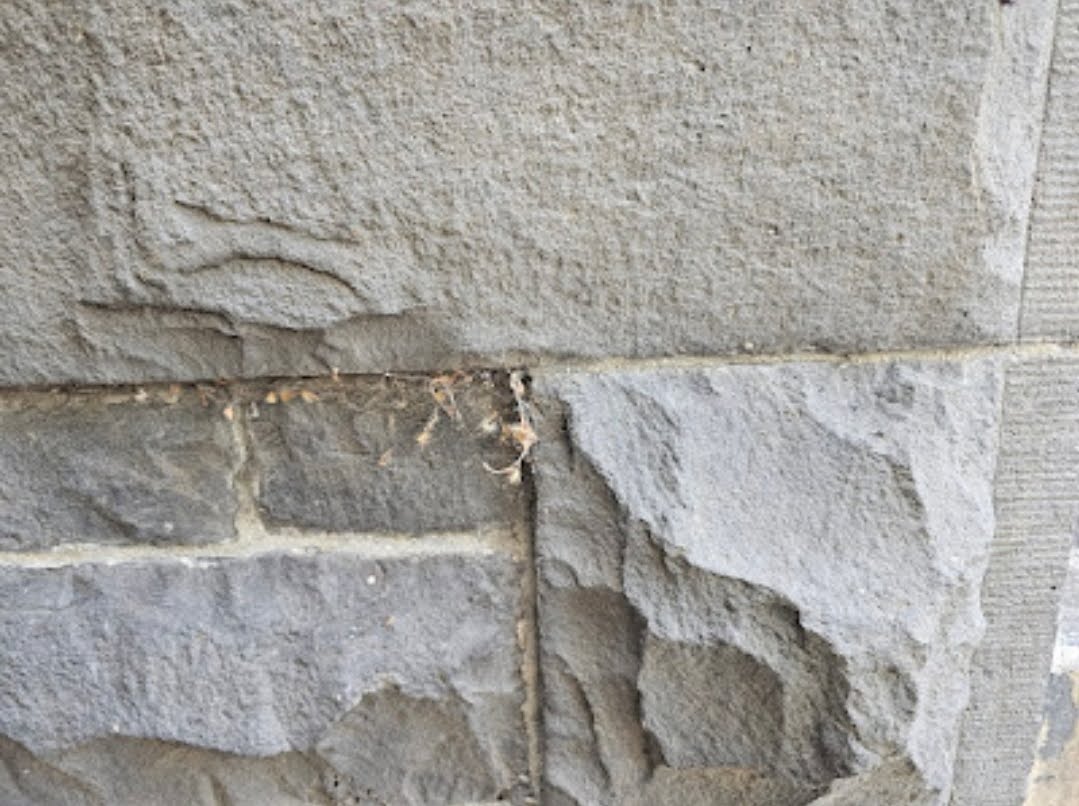
The first picture below shows an area of historic granite wall base with a cut edge at the outside corner, shaped with a pitching chisel.
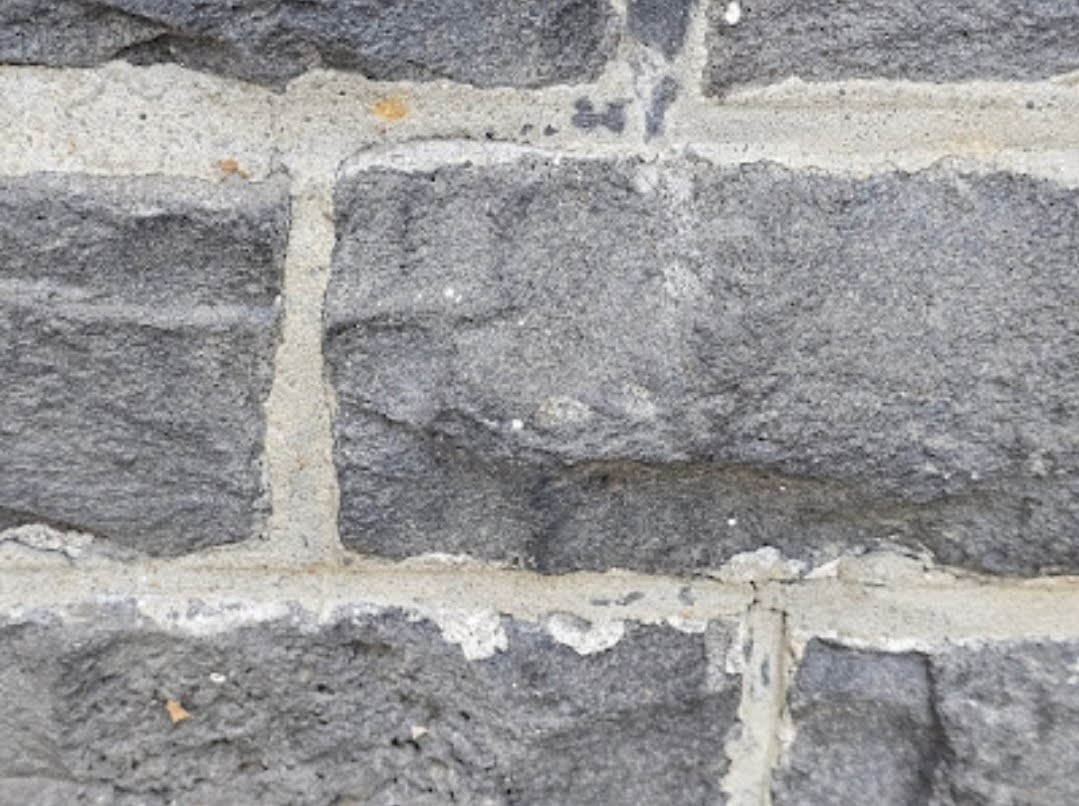
 In the next picture below, you can see that although the mortar joints are not perfectly applied, they maintain a minimal visual exposure to highlight the craftsmanship of the original stonework. Thin mortar joints are almost always preferred in masonry construction. Large mortar joints generally indicate that the stonework is built faster and sloppier. There isn’t necessarily anything wrong with something built cheap and fast, every different thing has its own purpose, but for high quality building facades, thin mortar joints, particularly in stonework, indicate a higher level of workmanship because historically, it was much more difficult to cut stones with precision. In historic architecture, these thin mortar joints were prized and considered a sign of prestige.

Before executing the repointing of ashlar stone masonry, particularly with a split face that features a rough texture, it’s important to invest in preparation to avoid a sloppy, unprofessional appearance. The goal of historic repointing is not only to reinstall / rebuild towards structural continuity but also to maintain or restore a degree of the aesthetic character of the building facade. Proper execution requires planning, proper materials, and proper application to preserve and restore the historic aesthetic of the masonry facade.
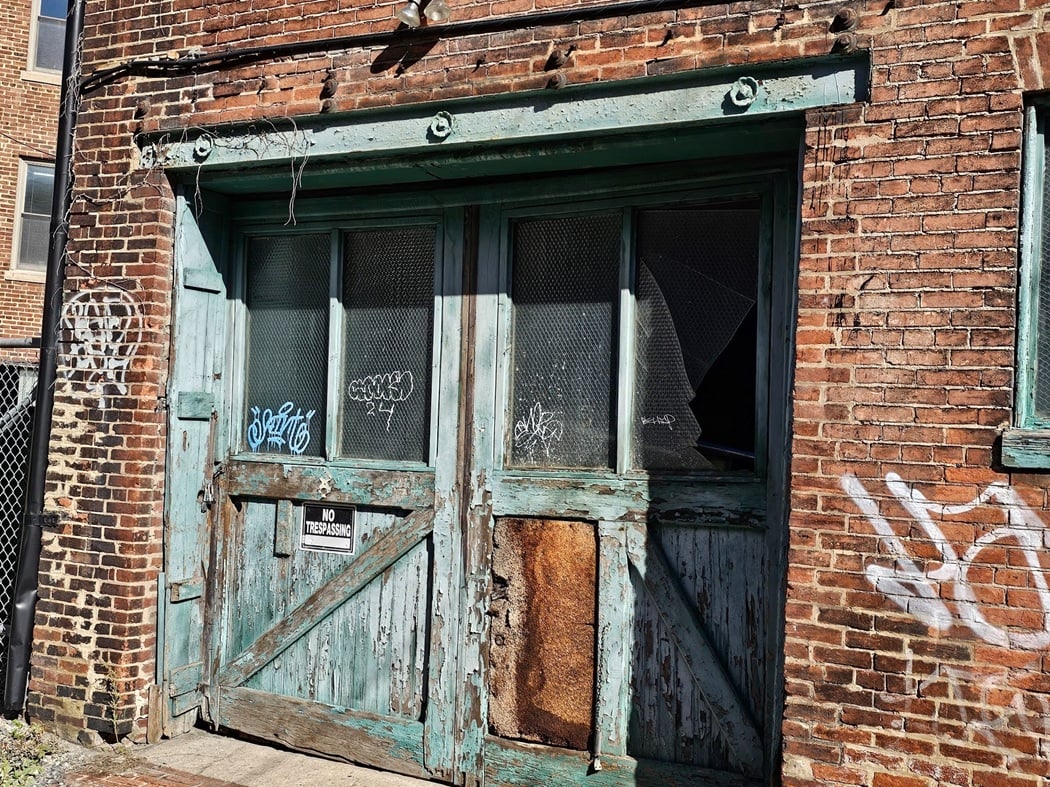
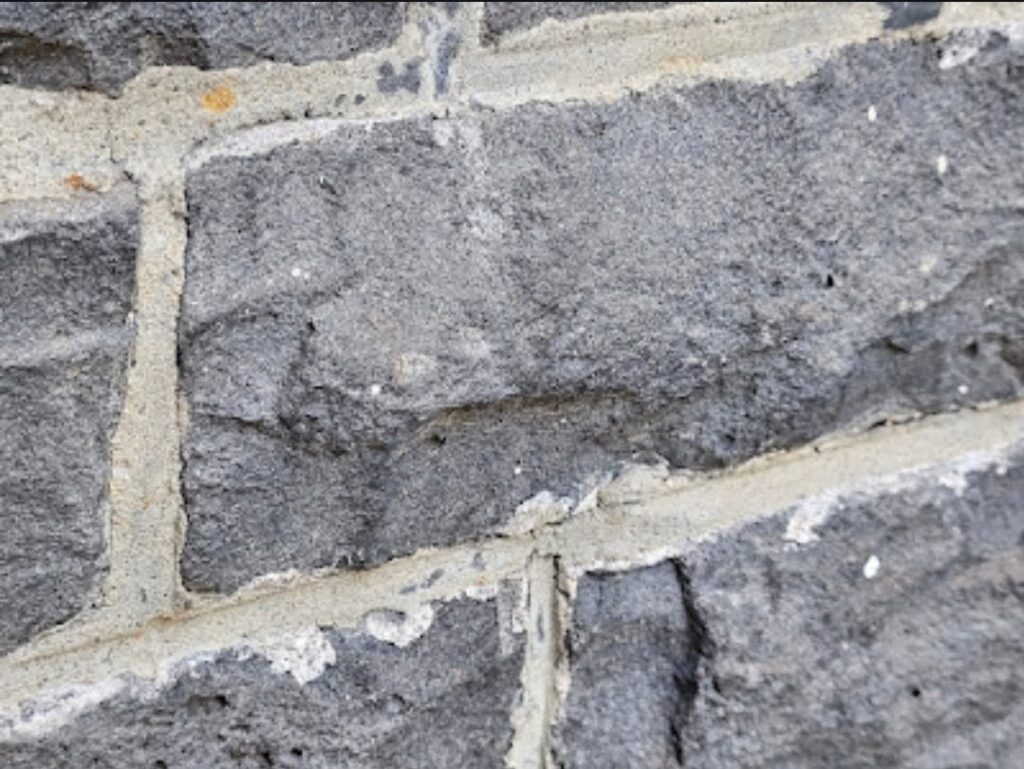
Although the mortar in the pictures above isn’t perfect, it’s not an example of a bad mortar application. In the next picture below, you can see mortar that looks much worse.
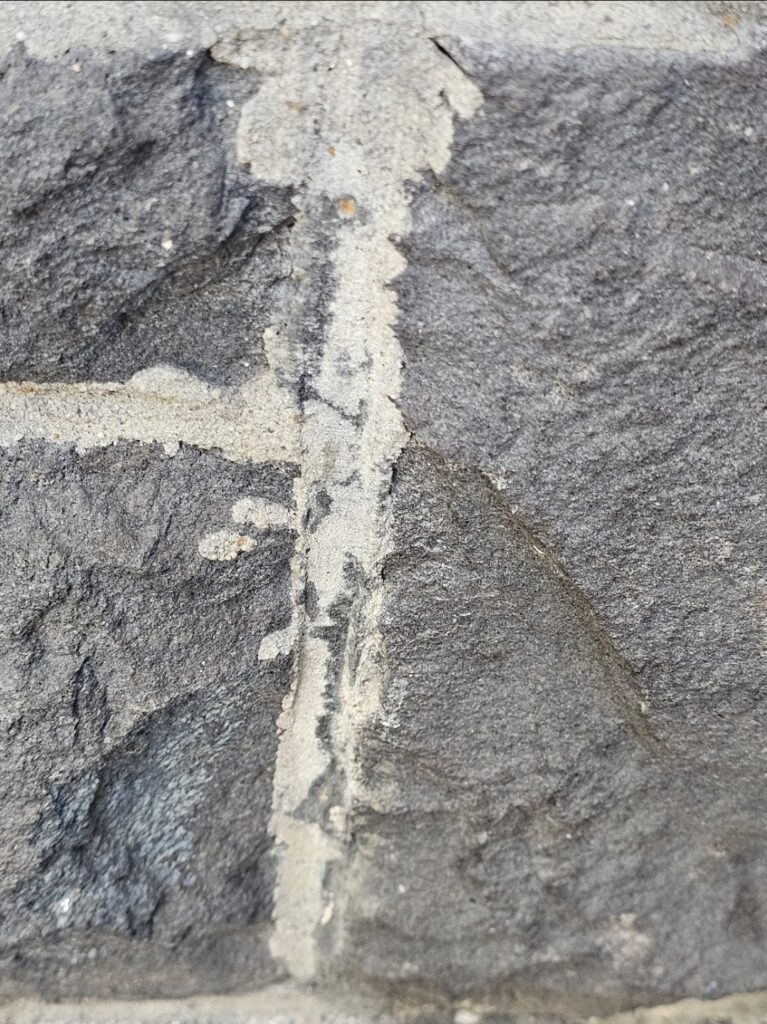
This picture above shows more that is applied almost as haphazardly as one could imagine.
Before actual repointing work begins, one of the prerequisite steps is to rake the mortar joints to be repointed. Old, deteriorated mortar will be removed to a depth of at least twice the width of the joint. This prevents the new mortar from simply sitting on the surface, which would cause it to delaminate / deteriorate faster. Attention must be given to avoid damaging the edges of the stone during this removal process. Back at our company’s workshop, we will make specialized tools for the removal process. In some cases we will use case hardened steel from other basic construction tools and then heat areas of the steel shaft to bend to a hook shape and then weld on an attached handle so the tool can be used with both hands instead of just one. Breaking tools like this, especially with ashlar stonework, often need to be made to fit into toght joints. Mechanical methods should be used cautiously, only in specific scenarios, to avoid gouging the stone.
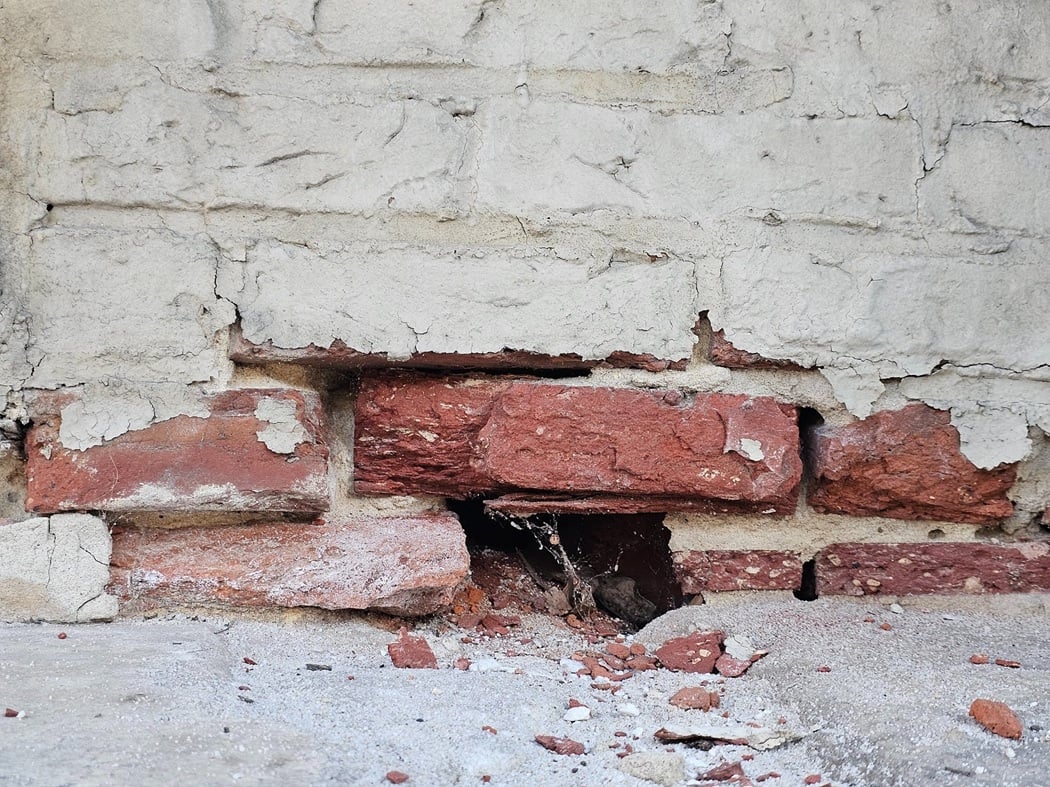
The problem of a non-profressional contractor or DIY Enthusiast applying mortar all over the face of a stone like this is shown in the picture above and below, is that it can’t be easily repaired without damage to the stone.
For split face ashlar stone, with its rough texture, extra care is needed during the preparation phase to avoid damaging the face of the stone or leaving mortar remnants (slop) on the stone surface. Using a bristle brush or compressed air to remove dust and debris can clean the surface before applying new mortar.
Water should also be used, and it’s important to use the proper amount of water before repointing. Water is needed in the reporting process to hydrate these substrate joints, the remaining mortar joint recessed into the face of the wall in the raking process. However, if excessive water is applied it can cause a decoupling effect between the new mortar and the original remaining mortar. On the other hand, if water is not applied, or applied too sparingly, the remaining original substrate mortar may be so dry that it will suck the water out of the new mortar like a sponge and cause accelerated dehydration which can damage the new mortar in the curing process.
If you are looking for a masonry restoration contractor that takes historic preservation seriously, reach out to us. Our company can help.
You can reach us by telephone at (202) 796-7644 and you can reach us by email from the contact form on our website at https://duponttuckpointingmasonrydc.com/contact-us/.