Read this before winter arrives – Top 8 tuckpointing tips for your brick wall
As winter arrives, joy fills the air, but for homeowners with brickwork, the snow can be a cause for concern. Protecting your beloved brick wall from the harsh winter elements becomes critical.
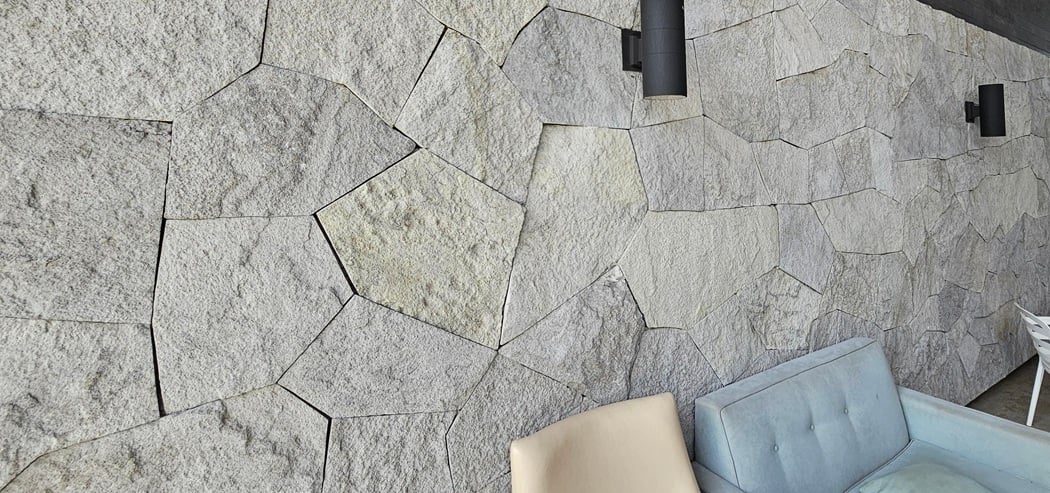
While your home’s brick wall adds character and charm, neglecting its care during winter can lead to potential damage. That’s where the art of brick wall tuckpointing comes into play.
In this comprehensive guide, we will walk you through eight simple and effective tuckpointing strategies to winterize your brick wall, ensuring its resilience and beauty even during the harshest weather.
8 Essential Brick Wall Tuckpointing Tips for Winter
Examine the Current Condition of Your Brick Wall
Take a good look at the state of your brick wall before beginning the tuckpointing procedure. The extreme cold of winter can aggravate current problems, making them worse in the future.
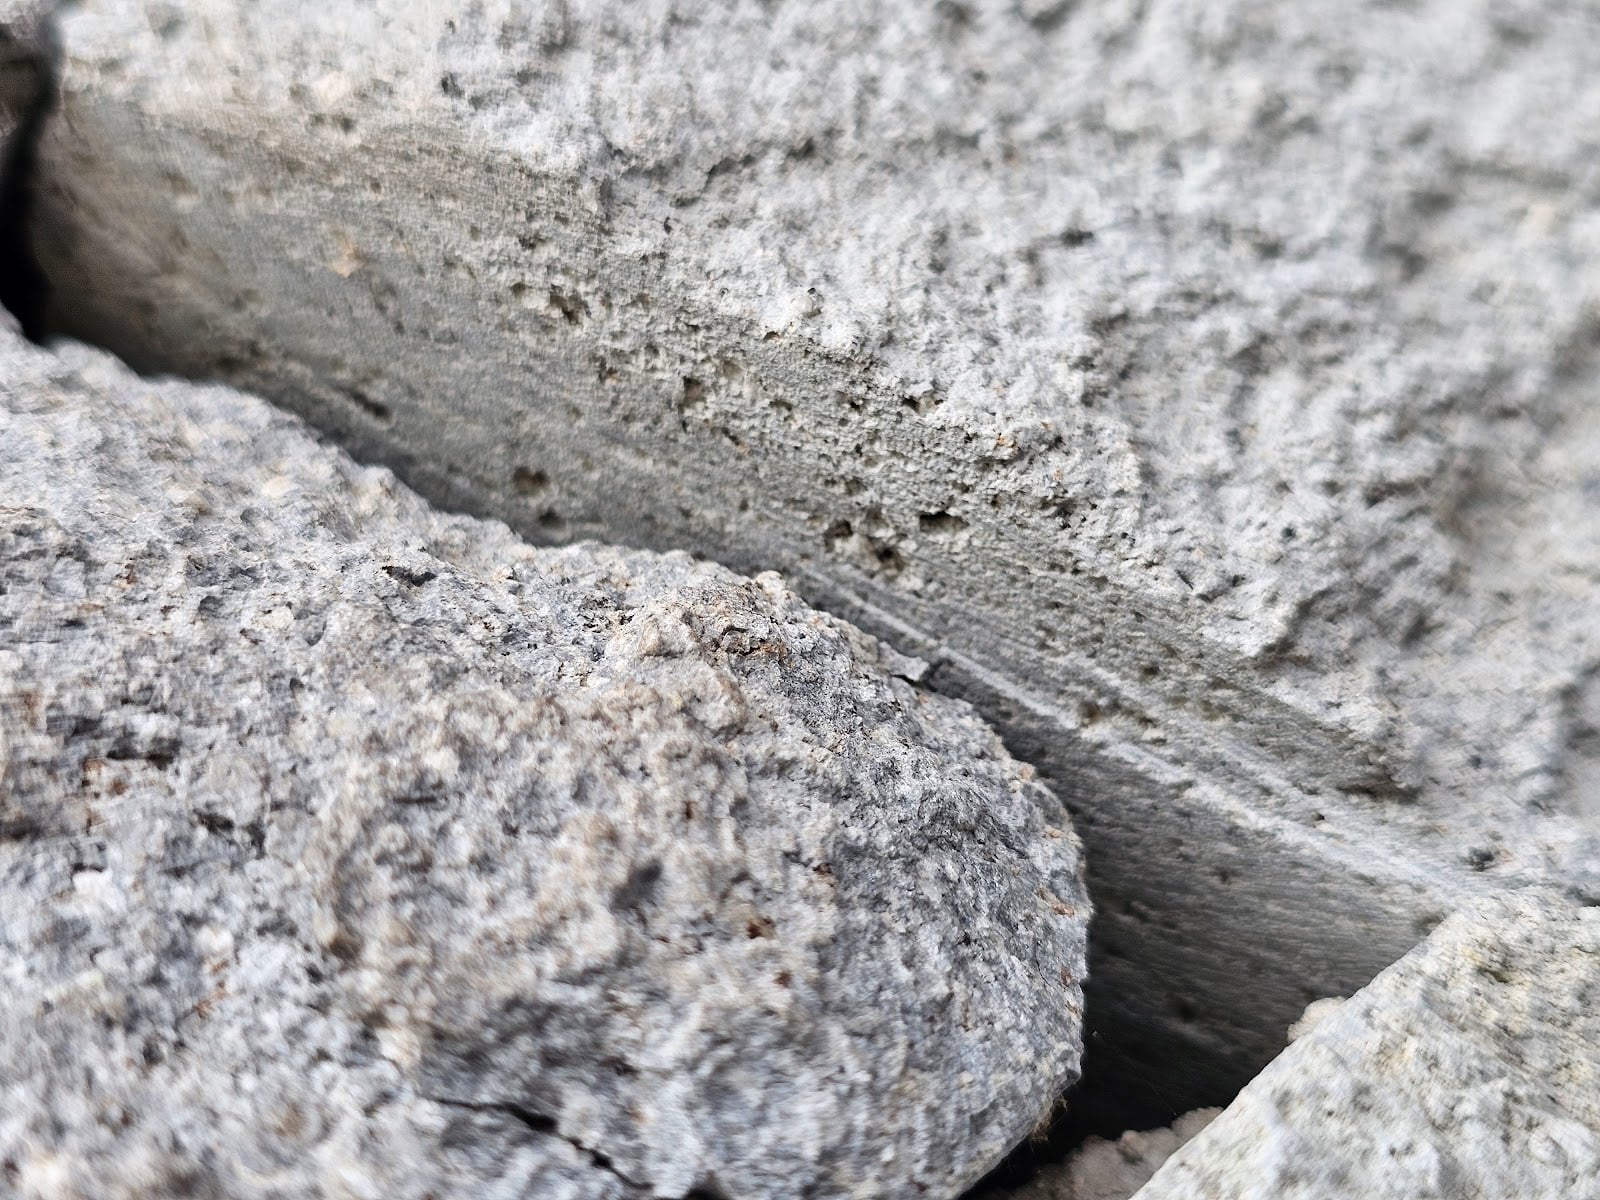
- Check for any indications of gaps between the bricks, crumbling mortar, or fractures. Recognizing and fixing these problems can help preserve your brick wall’s structural integrity before winter sets in.
Clean the Brick Wall Thoroughly
- The warmer months can cause your brick wall to be covered with debris and moss, concealing possible issues underneath. This makes it absolutely necessary to thoroughly clean the brick wall before starting the tuckpointing procedure.
To carefully clean the surface, use a soft-bristle brush and mild detergent. Avoid using high-pressure washing since it might weaken or harm the existing mortar or the bricks.
Choose the Right Mortar
- Choosing the right mortar mixture is essential for successful tuckpointing. Choose a mortar that can endure freezing temperatures and dampness because winter conditions differ from location to location.
Also, make sure to choose the mortar that has the same or complementing color and makeup as the existing mortar on your brick wall. This guarantees a smooth and attractive finish that matches the original appearance of your brick wall.
Start Tuckpointing
- You can start performing the procedure once you’ve adequately prepped the wall. Remove the defective or damaged mortar from the joints gently with a chisel so as not to injure the bricks. Make sure to form straight and uniform channels to accommodate the new mortar perfectly.
Once the damaged mortar has been removed, it’s time to pour in the fresh mortar. Use a pointed trowel to fill all the mortar joints with the new mortar evenly. Pay particular attention to the joint depth since it affects the brick wall’s strength and stability throughout the winter.
Focus on Proper Joint Depth
- A strong brick wall requires maintaining the proper joint depth. When tuckpointing, try to achieve a joint depth that permits the mortar to hold up strong while also allowing for adequate room for expansion during freezing conditions.
A suitable joint depth guarantees that the bricks are firmly held in place, minimizing the possibility of fractures and damage brought on by temperature changes.
Finish with Accuracy
- If you don’t want to hire a contractor yet, aim for a smooth and appealing outcome; remember that a neat finish is crucial for a professional look. After applying the mortar, smooth out the seams using a rounded jointer tool to make sure they meld perfectly with the brick surface.
Doing so will make your brick wall look better overall with a clean, well-done finish and be ready to serve as a lovely focus point in the winter.
Allow Ample Curing Time
- While you might be anxious to shield your brick wall from the cold weather, tuckpointing requires patience. Before subjecting the fresh mortar to cold conditions, make sure you give it at least a week to cure.
By letting your brick wall have enough time to dry and heal, it will be able to survive the hardships of winter and stand firm throughout the season.
Use a Weatherproof Sealant
 Consider sealing your freshly tuckpointed brick wall with a weather-resistant sealer for further security. During the winter, the sealer serves as a barrier to stop water and moisture from reaching the mortar.
By preventing the moisture from seeping in, you lower the chance of freeze-thaw cycles, which can harm the mortar and bricks.
Your brick wall is a valuable asset to your home’s curb appeal and structural integrity. By following these eight tuckpointing tips, you can effectively winterize your brick wall and protect it from the challenges of the cold season. Remember, a well-maintained brick wall not only enhances the beauty of your property but also ensures its long-lasting durability.
If you’re unsure about tackling the tuckpointing process yourself, don’t hesitate to seek professional assistance. The skilled tuckpointing experts at Dupont Tuckpointing can handle the job with precision, giving you peace of mind knowing your brick wall is prepared to face the winter months with confidence. So, get in touch with us today at (202) 796-7644 or fill out this form!